Last Updated on July 23, 2022 by James Walton
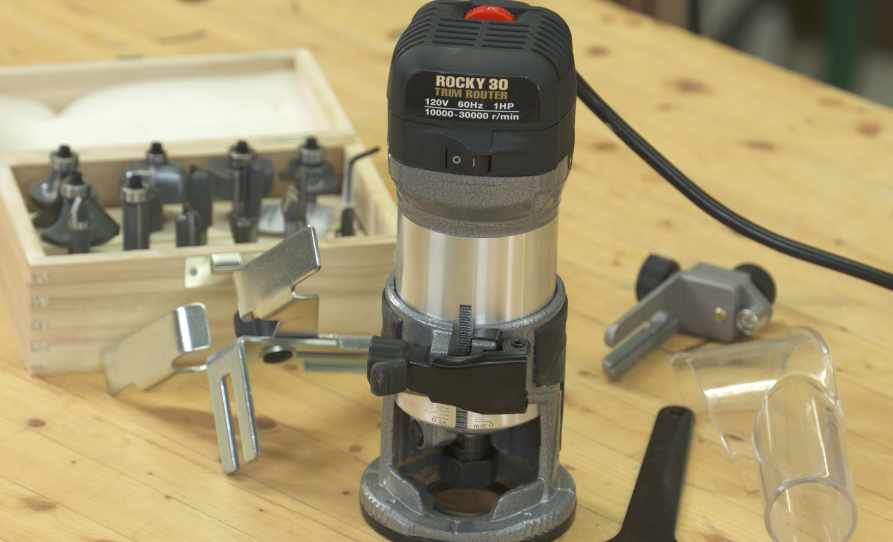
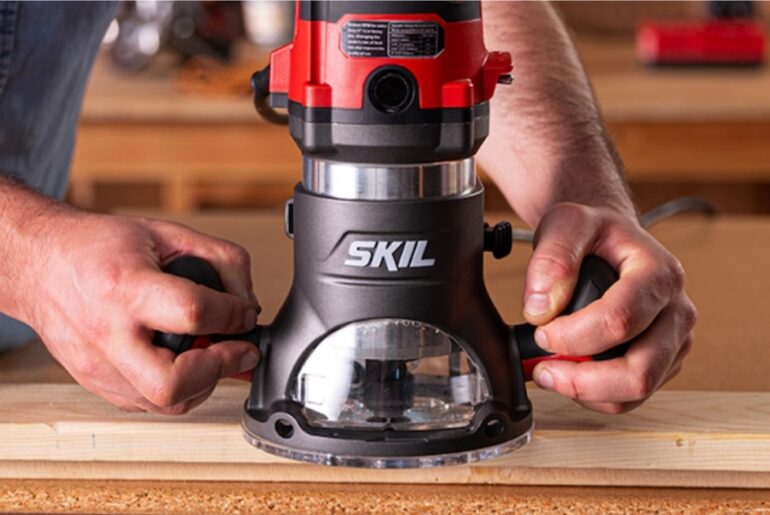
If you’re a woodworking enthusiast, you might have come through problems while working with a laminate wrap. After applying a laminate shit on the wood, you have to trim it off along the edges. The problem is when you try to chip it off, either you break the laminate or end up with exposed lip, especially around the corners. Using a laminate router can give you a great solution to the problem.

Using a laminate router comes with an essential thing to know, the router bits. If you’ve come across the problems and thinking how to use a laminate router bit, I’m here to help with choosing and using one. This step by step process will help you get rid of the dilemma and get the job done with a fine finish for laminated edges.
Benefits of using laminate router bits
When it comes to trimming a laminate edge with great detail and smooth corners, nothing can compete for a laminate router. Here are some special advantages this tool offers when you use it instead of a straight cutter:
Clean cut
The main benefit of using laminate routers is their ability to give you a very clean cut along the edges. Besides, it doesn’t leave any sharp or harsh lip that can ruin the piece in a few days.
Precision
Critical jobs in woodworking like cutting the laminates require a lot of hard work to bring the precision in it. A laminate router gives you the perfect precision with minimal effort.
Versatility
The laminate routers come super versatile as they work for tons of different applications. You can easily use it for sharp edges, curves along with the plain edges. It works the same on any given edge as you can use different trim bits depending on the job.
Portable and handy
The laminate routers come with a very small structure, and it doesn’t require a lot of extra handling. You can use it from any angle, and there is no requirement of an extra hand to operate one.
Low cost
A laminate trim router is by far the cheapest option in the router family with a smaller form factor. Because of this, you don’t need to spend tons of money to buy one, and the bits last longer as well.
How to use a laminate router bit?
Using a laminate router requires you to use different router bits for different types of applications. Here is a guide on How to use a laminate router bit that will help you learn to use them:
Get the right router
Before you can start working, you must keep one thing in mind that your router should be compatible with the job you have. As you’re trying to use the router on laminated pieces, get the one that comes lightweight and handy. You cannot handle a bulky router and the fragile laminate both at the same time. The second thing is, the router should take in different router bits so that you can use it for a wide range of work types.
Get the right bits
Once you have the perfect router, be sure to get plenty of router bits that match with the router you have, depending on the types of work you have. This setup will help you get any job done with a precise, clean, and smooth cut. It will include the bits with ½ inch bearing bits and tringle bits instead of bearing as well. Nonetheless, you must get a flush-trim bit for your router, and it will help you ease the work before and after applying the laminate layer.
Prepare the router and the piece
Choose the correct router bit depending on the depth of the base workpiece and the laminate cover on that. Make sure the sharp portion of the bit ends in between the laminate and the workpiece so that you don’t cut the base accidently. If you have a bearing or other guide on the tip of the bit, that will help you keep it safe as well. Now, attach the bit to the router properly and tighten it up. Apply a bit of wax on the router base, also on the leading edge of the base wood. It will help you route the edge smooth and even.
Go counter clockwise
Once you’ve prepared the material for cutting, you can start routing the edge. While staring the trim, remember to do it in a counterclockwise direction so that you can chip off the access portion afterward. The primary cut might leave you with a lip portion to cut and chip off later if you go counterclockwise. After the cut, you’ll have perfect cut along the edges, not a clean one, but a precise one for sure.
Finish the cleaning
After cutting the edges, you’ll have quite a lot of burrs and wood chips to clean, because it’s a laminate piece. If it’s not a plastic-like laminate workpiece, the wax and a sharp bit will leave you an absolute clean edge. On the laminate edge, clean it with a piece of scrap but plain wood or smooth sandpaper. Make sure you don’t contact the main surface but only the edges while cleaning and finishing the job.
Safety tips for using a laminate router
There are some important safety tips you must not forget while working with a router, no matter if it’s for laminate or not. Keep these tips in mind and stay on the safer side while working with this powerful tool:
- Use safety gear: Never forget to put on your Personal protective equipment (PPE) while you’re working with power tools like earplugs, goggles, gloves.
- Use the proper bits: Don’t even think about using a bit with the router if it doesn’t fit in properly. You can look for the manufacturer’s manual to select your router bits.
- Beware about electricity: Routers are power tools, and you might need to change the bits often. If you have to change the bit, unplug the tool and then go for changing it.
Bottom line
Using a laminate router requires a certain set of skills and a bit of practice. You must know how to prepare both the router and the base wood along with the laminate cover itself. I hope, this extensive, step by step guide on how to use a laminate router bit helped you understand the chemistry of a fine laminate routing. Apply them on your laminate project and get the best output possible from your laminate router.


