Last Updated on July 22, 2022 by James Walton
Doing woodworking with power tools is one of the most dangerous works that one has done. But, on the other hand, most of them are quite slippery, trussed on a bench or rail, which becomes quite fatal.
Though using any router without a plunge could be a more dangerous tool, mainly when it applies to drill. If that happens, it may cause serious injury. Not only that, but you may also have to start your work from ground zero.
Therefore, it’s essential to choose suitable power tools for plunge routers. Furthermore, there are many ways to make a router table to help you carry out your work. But in this article, we will try to suggest to you step by step how to make a router table for a plunge router.
What kind of equipment do you need to make a plunge router table?
If you determined yourself to make a plunge router table, then you have to gather some tools before you get started with it. The tools and materials that you need-
-
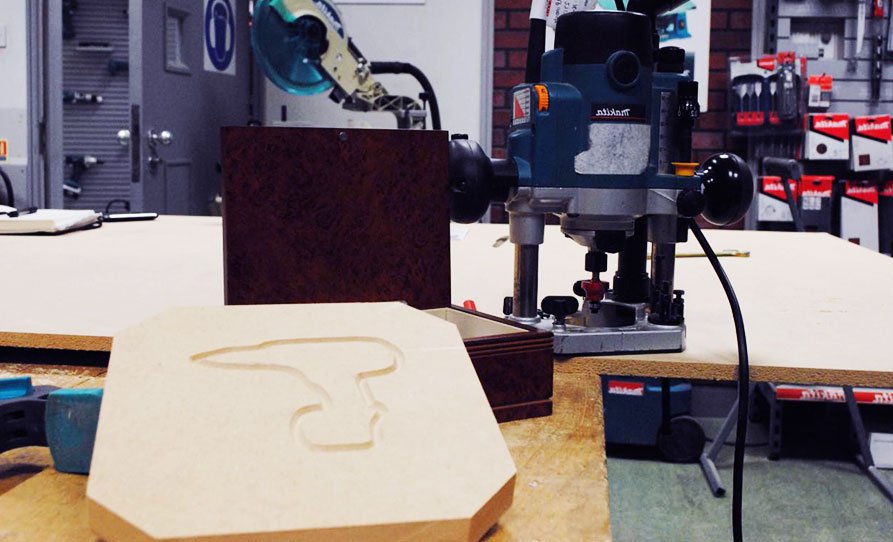
Plunge router.
-
V Groove router bit.
-
Wing-nuts.
-
Hole saw.
-
Straight bit.
-
Plywood sheets.
-
Clamps.
-
Pencil.
-
Zip tie.
7 Steps To Make A Router Table For A Plunge Router
Once you gather all the equipment, you need to follow the steps to make a suitable router table.
Step-1:
First, you need to set up everything. For that, you need to prepare yourself with all the protective gear that you have. Such as wearing safety goggles, gloves, and a dust mask. Before starting your work, you need to clean the area with the vacuum cleaner, if possible, take all the equipment near your hand so that you can do your job efficiently.
Step-2:
The second step is cutting the plywood. Therefore, you need to cut the plywood according to its length. The standard cutting length is 14 to 16 inches. Since the routers aren’t huge, you don’t need to use any great power tools. If you want to get an accurate cutting or shape, then you may use a pencil. Also, if you need a moderate length of ply, you can cut the pieces like a clamp.
Step-3:
After finishing the cutting board, you need to move forward to choose the position of the router. Therefore, you have to adjust the place where you will exactly fit the plunge router. It would be best if you could be left some extra spaces so that you can install other things.
Relevant post: DEWALT DW618B3 Plunge Base Wood Router
Step-4:
This step is quite tricky. Nonetheless, you have to create holes according to the adjustment to the router. Therefore, you don’t have to waste so many times on how to cut it because in above, the size of the cutting plywood is already mentioned.
Step-5:
After making a hollow on the board, you need to place the router whether it has been correctly fitted in the holes. If it’s not fitted at all, you need to restart it again. The grooves should be upwards to the board and place this where the router would be equipped. If the gutters are shaped with V, then the bars will center with themselves.
Step-6:
The next step is to fix the clamping blocks. Firstly, you need to cut the board narrowly and put them down. Make sure it will not come to the contact of the footplate. If you need more grip, you can use two extra bolts to use it on the clamp. Before you do it, you have to make inlays onto the surfaces so that you can attach the bolts.
Step-7:
After completing the above steps, you are required to place your plunge router so that you can check how it works. Once you have checked everything, then you are ready to use your table. If not, you have to restart everything to make it. Again, finish it off to clean the area with a vacuum cleaner.
Tips & Tricks
- You need to drill the hole in a precise manner so that the router can fit comfortably.
- After buying the tool, check whether there is any manual book. If so, try to follow the instructions.
- Try to keep your finger at a considerable distance. Otherwise, it will cause physical injury.
- Keep away your kids from the project area.
- Don’t drill the hole too deep otherwise; the wood material will waste.
- If you are a beginner to do a DIY project, consider yourself to consult with professionals.
- Make sure the clamps should be placed in a downward position.
Can you put a plunge router in a router table?
Plunge router has excellent applications in our everyday life. Yes, you can put a plunge router in a router table; therefore, all you need is to choose a good model of a plunge router. Make sure about which kind of work you want to use a plunge router. If you’re going to for mounting, then use a fixed based router, which is preferred by the experts.
Plunge router: is it suitable for a router table work?
Yes, it is, but in some situations, it works better than others. During setup, you need to check the router for safety practices. But generally, using a plunge router on a router table is more comfortable and safe than a fixed base router.
Conclusion
In conclusion, we can say that a plunge router is a hazardous tool while using it. If you fail to take any precautionary steps, it will cause physical injury since this tool may cause fatal damage, unlike other tools you need to keep your hands at a distance.
Therefore, we will suggest you check the manual book, follow the instructions before using it. And, try to buy a suitable tool according to your demand.
In this article, we tried to give you the best solution along with suggestions to make a router table for your plunge router. We wish that the above steps will assist you in making a suitable router table.
For any kind of information and suggestions if you may find many informative articles regarding this on Google. But we tried to toil your hassle and give you a fruitful idea. I hope you will like it. Happy learning!


