Last Updated on July 23, 2022 by James Walton
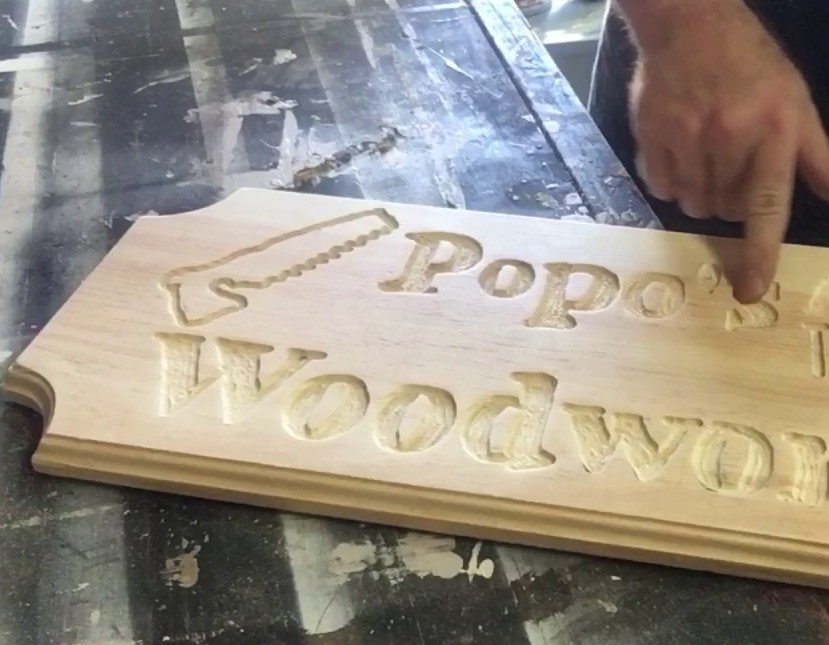
A piece of wood can do a fantastic turnover if you can adequately take care of the wood piece. I am talking about the wooden sign that generally hangs on the wall or in front of the house and also at the office to decorate the work station. Making a wood sign with the router is fun and easy.
You can create a lot of things with a piece of wood, such as welcome mate, direction sign, nameplate, address bar, designation plate in front of the door, etc. This article has information about step by step making process of the wooden sign with a router.
What should think before Make a Wood Sign with a router
You can use the wooden sign as a unique gift for the house party. Now, before starting the making process, you may need to consider some facts. At first, you need to decide what types of wood sign you want to make. If you wish to have a nameplate, then you need to write the words on a piece of paper.

Then place those letters over the board on which you want to make the sign. You can mark with the pencil, or you can use the spray glue to have the mark on the board. This marking process will help you to route on the wood piece precisely.
Another important fact is you need to determine the wooden board size and the letter size. You need to adjust the size of the letter and the board accordingly. Or else the wooden sign will look miserable and unfit after finishing the process.
The board dimension needs to adjust to the size of the letter. So, if you are going to make a wooden sign with the letters, the board and letter size have to determine before the routing process.
Let me inform you about small tips before starting the process. The best quality of wood is Pine, Cider, and Redwood. They are great for making wood signs. Among those woods, you can choose the Redwood for its best durability.
What Required Make a Wood Sign With a Router
Before starting your wooden sign-making process, you need to gather all the equipment to help with your procedure.
- Pencil
- Design template
- Grip Pad
- V – Groove Router Bit
- Carbon Paper
- Safety Glasses
- Word Alphabets
How to Make a Wood Sign With a Router?
It is easy to make a wooden sign with the router. You need to place the wooden piece correctly on the router board. Some step by step processes will lead you to make a wooden sign. We will discuss the whole making procedure below.
Step 1- Size Determination- Earlier, we talked about the board and alphabets size that is important to make a wood sign. The reason is if you choose the letter size to be big, then you need to adjust the dimension of the board size. But, if you want a big dimension board, then you need to change the letter size according to your board size.
Step 2- Draw the Sign- If you want to put the letter on the wooden board, first draw it with a pencil. You can use your hand or can use the stencil method for this writing. Printing out or spray glued directly is another method to put the letter on the board.
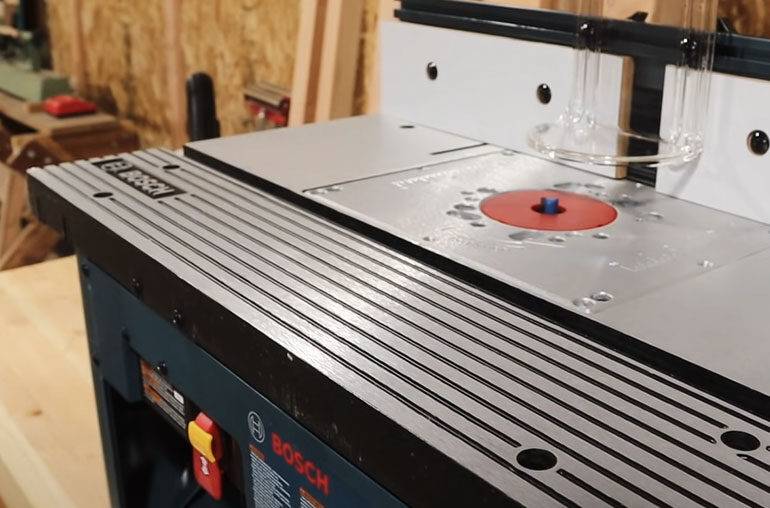
Step 3- Routing Process- After finishing the letter into the board, now comes the routing process. Place the board on your routing table. The router table will help you to cut the wooden sign precisely. Set the router bit on the router. You can use the V-groove router bit to cut the letter on the wooden board. It is perfect to choose the ¼ or ⅜ inch wide router bit.
While routing on the board, you can not cut the wood too deep as the wood will create smoke and burn. To avoid this situation, you can try your bit in a scrap wood first. After placing the router on your board, you can start routing. Grab the router and place your forearms on the router table. You can move your wrist while cutting the letter accurately.Step 4- Finish the Process- After completion of the routing process, you are halfway ready to get the wooden sign. Clean the letters with a brush to remove the wood chips. You can paint them if you like or burnish them to have a natural look.
Sometimes it’s hard to paint the background with letters. So, you can put the wooden sign just by shining them. You can also use a carbon paper to smoothen the edge of the wooden sign.Warning Tips
When you use the router to make a wooden sign, you have to be careful. Some warning tips you may find useful before starting the routing process and those tips keep you away from harmful incidents.
- Grab the router tightly, or else an imbalance router can harm during the routing.
- Before using the groove bit on the central wooden sign, practice with a plank of scrap wood.
- Always wear the safety gear before start the routing process.
- Set the bit on the router before connecting with a plug.
- Smoothen the edge of the wooden board carefully, or else wood chips may harm your hand.
To make a wood sign, you have to go through the process of cutting, routing, and burnishing. After finishing the process, you will get the immense pleasure of seeing the final product.
This wooden sign is a great piece to decorate your house and office. Also, it is a unique gift for your beloved ones. If you wish to have a luxurious craft or art for your home then this article is for you. You can start making a wooden sign with the router.
A little bit of effort and spending some money on the accessories. And here you are, ready to make an excellent craft by following step by step process.
The wooden sign is also a good craft for an event. If you spend little time on this craft and spend some money, you can organize a great event with this wooden sign. It will be a great source of income also. So, let’s not wait and start making the wooden sign with a router.


