Last Updated on August 6, 2022 by James Walton
How to use a plunge router is the common question who wants to use plunge router the first time. Learn plunge router using techniques and tips with step by step demonstration.
A plunge router is a great plunging tool from the best wood router to create detail to your work on wood. You can use a plunge router to trim the wood piece with your custom design. The name plunge router comes from the router’s plunging capabilities from its solid steel plate which can slide across the board to put the router bit into the wood on the exact point.
Using the plunge router, you can make your custom trim, add specific fluting design to crown molding and add a sophisticated design on the edge or middle of the cupboard door. So, here are the simple techniques of how to use a plunge router correctly.
How to Use a Plunge Router Correctly
Before starting to use a plunge router, you need plunge router, router bits, wrench, and clamps. Now after collecting these tools you are ready to use your plunge router and to add custom trim work.
Steps by Steps Tips of How to Use a Plunge Router
Step 1: Choose and set plunge router bit: each wood project needs different router bit. Because there are few types of router bits such as straight router bits or spiral router bits. What router bits you need to use depend on what type of cutting you want.
Step 2: Clamp your material in stable place: you need to secure your workplace. Because when the plunge router will spin at high speed, there is a chance that the plunge router will turn the material despite plunging it. So to stay on the safe side, you can use a router mat which has a non-skid surface.
Step 3: Protect yourself from noise: plunge router makes huge noise which may harm your ear permanently. So, use ear safety protection. Also, use glasses to protect your eyes from the small chips or splinters.
Step 4: Set plunge router depth and position: measuring the depth you are going to cut is important. So, set the depth by pressing the depth guide releasing the springs to hold the bottom plate. And push up on the depth guide until you get the exact depth. Now set the plunge router into the precise position where you want cutting.
Step 5: Move in the right direction: when you cut outside edge of the wood, you need to move counter clockwise. On the other hand, if you plunge inside of the edge, you need to move clockwise.
Step 6: Start the plunge router: after setting the router in the exact position, now grab the router by your both hands tightly. And using the slot view the router bit as the bit is in the exact spot. Then press the power button to start the router spinning and press the plunger button to plunge the bit into the wood.
How to use a plunge router on small pieces of wood
To use a plunge router on small pieces of wood, first, clamp the workpiece to the fence. Then position the router bit over the hole you want to make and lower the router into the workpiece. Finally, hold down the trigger and move the router around the hole.
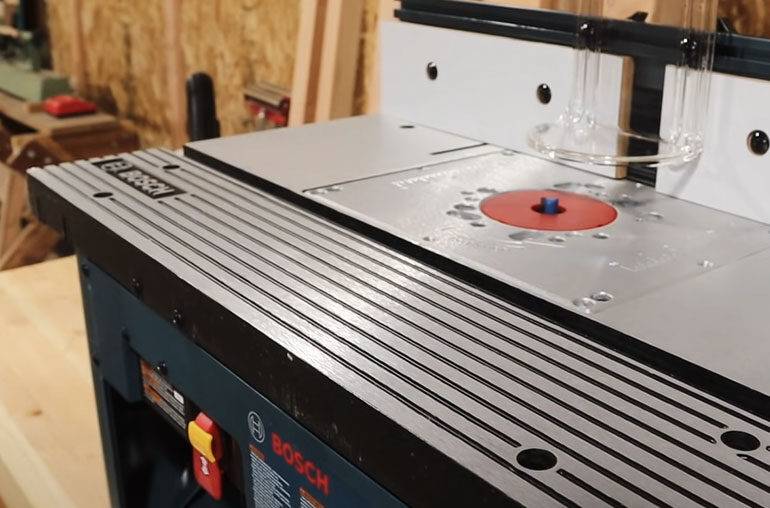
Using plunge router with table
Assuming you’re using a plunge router with a tabletop, the first step is to set it up on the table so that the bit is level with the tabletop’s surface. Then, ensure the fence is lined up, so the bit is exactly in the blade’s center and tighten the screws on either side of the fence. Finally, plunge the router into the material and hold down the switch while turning the handle to start cutting.
How to use a plunge router Bosch
First, use a plunge router Bosch to ensure that the base is correctly secured to the work surface. Then, tighten the screws on the plunge router base. Next, insert the router bit into the chuck and tighten it against the base. Finally, please turn on the power to the router and position it over the desired piece of wood.
How to use a Dewalt plunge router
A Dewalt plunge router is used for cutting large holes in hardwood such as oak or maple. It also makes it easy to create multiple cuts at once. The tool uses a drill bit with interchangeable bits. After drilling into the workpiece, the bit retracts into the body of the machine, allowing you to cut through the material without removing the bit.
How to use a skill plunge router
First, ensure your router is properly plugged in and turned on. Then, locate the bit that you want to route. You can find this by looking at the front or back of the router. Next, locate the plunge switch on the side of the router. This switch will have a number (1, 2, 3). Turn this switch to the number corresponding to the bit you located on the router.
- There are a few basic steps to using a skill plunge router:
- Set the bit height and depth.
- Adjust the Z-axis height and depth.
- Lock the Z-axis in place and start routing.
- Use the hand wheel to make final adjustments to the routing path.
Plunge Router Final Thoughts
These are the simple steps of tips and techniques of how to use a plunge router. To stay safe, always use protection and never wear any loose clothes. And of course, always read the manual carefully. In addition, use multiple passes on deep cuts.


